DJI FPV Drone: Best Camera Settings for Stunning Cinematic Footage
Ever wondered why some drone videos look amazing while others don’t? It’s all about the camera settings. Knowing how to adjust them can turn simple aerial shots into stunning stories.
As someone who loves drone cinematography, I found that the right camera settings make all the difference. The DJI FPV drone lets filmmakers try new things and see the world from unique angles.
In this guide, I’ll share the key camera settings and techniques for amazing drone videos. Whether you’re new to drones or have been flying for years, these tips will help you get the most out of your DJI FPV drone.
Key Takeaways
- Discover the critical camera settings for cinematic drone footage
- Learn advanced techniques for capturing dynamic aerial shots
- Understand how to control exposure and frame rates effectively
- Explore creative drone movements for compelling visual storytelling
- Master the art of professional drone cinematography
Understanding the Basics of DJI FPV Drone Settings
Getting into drone cinematography means knowing the DJI FPV drone camera settings well. Learning these basics can turn simple shots into amazing visual stories.
The DJI FPV drone is great for capturing cinematic footage. It’s important to understand its core settings for top-notch drone camera performance.
Camera Modes and Their Functions
FPV drone basics include knowing the different camera modes. Here are the main modes for drone camera settings:
- Manual Mode: Full control over camera parameters
- Auto Mode: Automated exposure and settings
- Sport Mode: Enhanced speed and responsiveness
- Cinematic Mode: Smooth, controlled movements
Essential Camera Controls Overview
When working with dji fpv cinematic settings, key controls need careful attention:
| Camera Control | Recommended Setting | Purpose |
|---|---|---|
| Shutter Speed | 1/60 to 1/120 | Smooth motion capture |
| ISO | 100-400 | Minimize noise in daylight |
| White Balance | 5500k | Accurate color representation |
Basic Setup Requirements
Preparing your DJI FPV drone involves several critical steps:
- Calibrate gimbal and compass
- Update firmware
- Check battery levels
- Configure camera settings
- Test flight controls
“Understanding your drone’s settings is the first step to creating cinematic masterpieces.”
By focusing on these drone camera settings, you’ll be well-positioned to capture stunning aerial footage that stands out from the crowd.
Optimal Frame Rates for Cinematic Drone Footage
Choosing the right frame rates can make your drone footage amazing. When I fly my DJI FPV drone, I find that the fps for drone videos is key. It helps create stunning visual stories.
Frame rates are the heart of drone footage. The classic look often uses certain fps ranges:
- 24-30 fps: Creates a classic film-like aesthetic
- 50-60 fps: Ideal for dynamic, action-packed sequences
- 30 fps: Recommended for UHD resolution drone shooting
“The frame rate you choose dramatically impacts the emotional impact of your aerial cinematography.” – Professional Drone Cinematographer
My experience with DJI FPV frame rates shows that context is important. For smooth shots, like landscapes, lower frame rates work best. But for fast action, higher fps is needed to keep details sharp.
| Scene Type | Recommended FPS | Visual Effect |
|---|---|---|
| Landscape Cinematography | 24-30 fps | Cinematic, Smooth |
| Action Sequences | 50-60 fps | Sharp, Dynamic |
When making cinematic drone footage, try different frame rates. This will help you find your own visual style. Remember, it’s all about blending technical skill with artistic flair in every frame.
dji-fpv-drone-best-camera-settings-for-cinematic-footage-part-1
Capturing stunning aerial shots needs you to know your drone’s camera settings well. The DJI FPV drone is perfect for creative filmmakers who want to explore manual controls.
Exploring Manual Mode Settings
Using dji fpv manual mode lets you control your shots like a pro. It’s key for filmmakers who want to express their vision fully. Manual mode gives you the power to create exactly what you see in your mind.
- Select full manual control for maximum flexibility
- Adjust individual camera parameters independently
- Customize exposure and color settings
Precision Drone Exposure Settings
Getting the right exposure on your drone is important. Here are some basic tips to get you started:
- Use histogram for accurate exposure assessment
- Adjust shutter speed to control light intake
- Balance ISO to minimize digital noise
White Balance for Cinematic Quality
White balance is key for true colors in your drone shots. You need to adjust it based on the lighting to get the right colors.
“Mastering white balance transforms average footage into professional cinematography.” – Aerial Imaging Professionals
| Lighting Condition | Recommended White Balance |
|---|---|
| Bright Sunlight | 5600K |
| Cloudy Conditions | 6500K |
| Golden Hour | 3200K |
Try out these settings to find your own style and improve your drone videos.
Mastering Push-In and Pull-Out Drone Movements
Cinematic drone movements are key to amazing aerial footage. Drone push-in shots and pull-out techniques turn regular video into stunning stories. They grab viewers’ attention and spark their imagination.
For drone push-in shots, I aim for smooth, steady speed. This builds excitement and sets the scene. It’s all about a steady, cinematic feel.
- Start with slow, controlled movements
- Gradually increase speed for dramatic effect
- Maintain consistent camera stability
- Plan your trajectory before recording
Pull-out drone techniques tell powerful stories. They start close to a subject and then show more of the scene. These movements are great for ending scenes or showing how things relate to each other.
“Mastering drone movements is about understanding rhythm, space, and visual storytelling” – Professional Drone Cinematographer
Experts say to keep practicing these drone movements. Every flight is a chance to get better. It helps you develop the skills needed for amazing aerial videos.
Advanced Tracking Techniques for Dynamic Shots
Cinematic drone tracking shots turn simple aerial videos into stunning stories. Through fpv drone follow shots, I’ve learned that different tracking methods can make ordinary footage into amazing scenes.
Drone tracking needs precision and creative thinking. Each method gives a unique view that can make your aerial videos much better.
Follow Track Methods
Follow tracking shots show subjects from behind, making them seem to move and build anticipation. Key techniques include:
- Maintaining consistent distance from the subject
- Matching subject’s speed and trajectory
- Using smooth, gradual camera movements
Lead Track Execution
Lead tracking puts the drone in front of the subject, showing the path and giving a sense of moving forward. For effective lead tracks, consider:
- Predict subject’s movement direction
- Calculate optimal camera angle
- Adjust drone speed smoothly
Side Track Mastery
Side tracking moves the drone sideways, adding depth and interest to your shots. To master side tracks, focus on:
- Precise lateral positioning
- Maintaining consistent frame composition
- Controlling drone stability
“Great drone tracking is about telling a story through movement” – Professional Drone Cinematographer
Keep practicing these techniques to make your aerial videos engaging and professional. This will show your creative vision and captivate your audience.
Perfecting the Parallax Effect in Aerial Cinematography
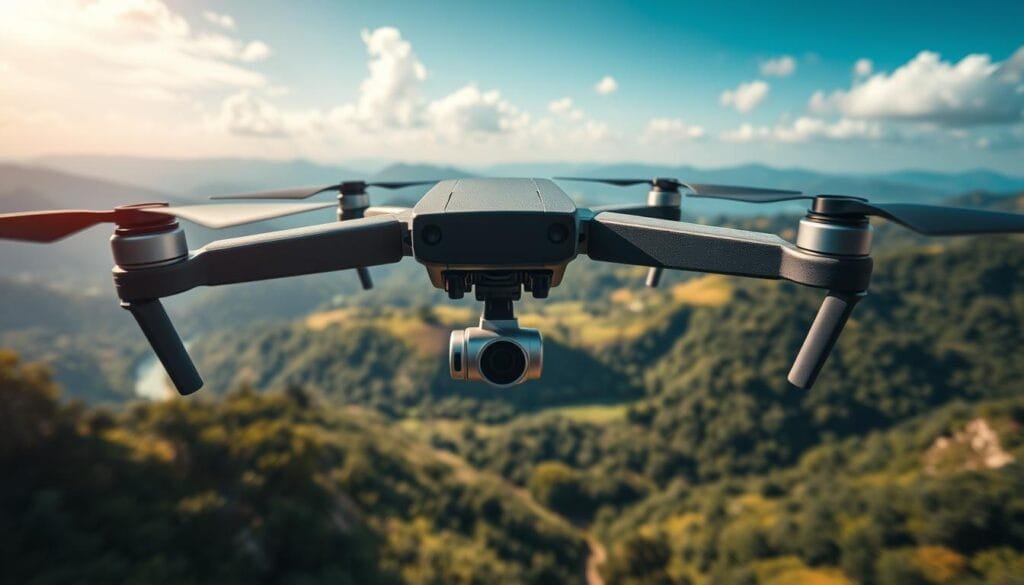
Making stunning aerial videos needs skill in the drone parallax effect. This technique turns simple drone shots into amazing stories by adding depth and dimension. It does this through careful camera movements.
Aerial parallax shots involve smoothly moving around a main subject. They keep the subject in the center while showing the details of the background. This makes the scene feel real to the viewer.
“Cinematic drone orbits are not just movements, they’re storytelling tools that unveil perspective in ways traditional cameras cannot.”
- Select subjects with interesting geometric or natural backgrounds
- Maintain consistent orbital radius during movement
- Use slow, deliberate rotation speeds
- Keep subject centered throughout the shot
For perfect parallax shots, consider these tips:
| Technique | Best Practices |
|---|---|
| Orbital Speed | 3-5 seconds per 90-degree rotation |
| Height Variation | 10-30 feet above subject |
| Camera Angle | Slightly tilted downward |
Practice and patience are key to smooth, cinematic drone shots. They grab the audience’s attention and tell powerful stories.
Essential Drone Movement: The Pedestal Shot
Mastering drone pedestal shots needs precision and skill. These techniques help filmmakers create dynamic visuals by moving up or down smoothly. Professional drone operators know how important pedestal shots are for showing landscapes and architectural details.
Vertical Movement Control
Controlling vertical drone movements is key. Here are some important factors to keep in mind:
- Keep a steady speed while moving up or down
- Make smooth, gradual movements
- Plan the start and end points of the movement
Maintaining FPV Drone Stability
FPV drone stability is vital for pedestal shots. Here are some tips for smooth vertical movements:
- Calibrate your drone’s gimbal before flying
- Check the wind and avoid rough areas
- Practice controlling the throttle precisely
Timing and Pacing
The success of a pedestal shot depends on timing and pacing. Slow, deliberate movements make the footage more cinematic and engaging. Think about the emotional impact you want to create and adjust your movements.
“A well-executed pedestal shot can transform an ordinary scene into a breathtaking cinematic experience.” – Professional Drone Cinematographer
| Shot Type | Vertical Speed | Recommended Use |
|---|---|---|
| Slow Reveal | 0.5-1 m/s | Landscape unveiling |
| Dynamic Reveal | 2-3 m/s | Architectural highlights |
| Dramatic Ascent | 3-4 m/s | Emotional storytelling |
Mastering Reveal Shots with Your DJI FPV
Capturing stunning cinematic drone reveals is an art form. It turns ordinary footage into breathtaking visual stories. Through drone reveal techniques, I’ve learned that the right approach can make a simple shot mesmerizing.
Drone cinematography offers many reveal techniques to make your footage stand out. Professional FPV drone reveals use three main methods:
- Tilt-up reveals: Gradually unveiling a landscape or subject from bottom to top
- Rise reveals: Ascending slowly to expose a hidden scene
- Dolly reveals: Moving horizontally to dramatically uncover the subject
Each technique needs precise control and smooth transitions. Practice is essential to master these movements. Start with slower, more controlled reveals and get more complex as you improve.
The magic of a reveal shot lies not just in the movement, but in the anticipation it creates.
When doing fpv drone reveals, keep these tips in mind:
- Maintain smooth, consistent speed
- Choose interesting subjects and backgrounds
- Use your drone’s gimbal for precise angle control
- Plan your shot sequence before flying
The goal of drone reveal techniques is to connect with your audience. It turns a simple flight into a compelling visual journey.
Creating Stunning Top-Down Perspectives
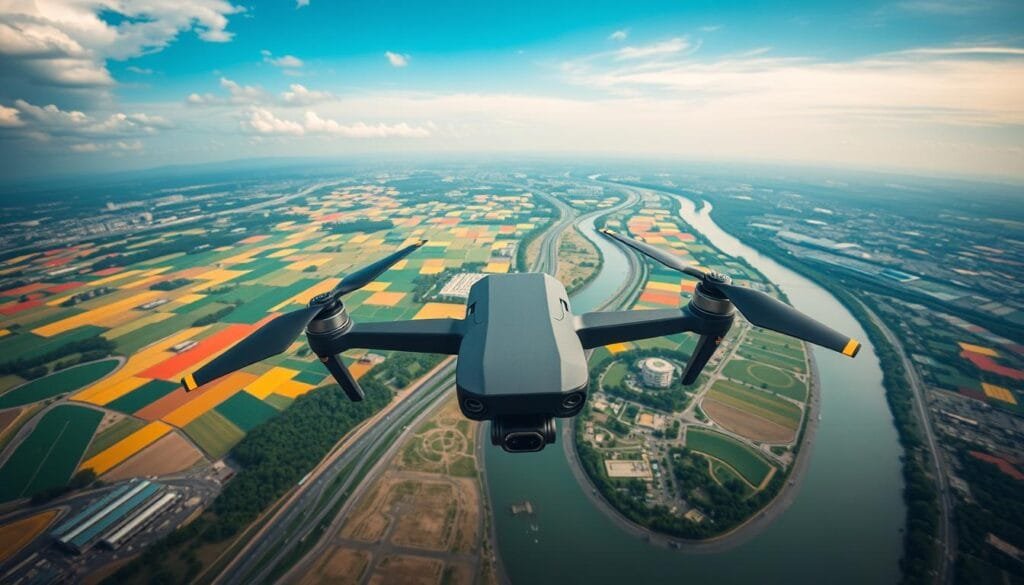
Top-down drone shots give photographers a unique way to see landscapes and scenes. FPV drone shots turn normal views into amazing ones by showing angles we can’t see with regular cameras.
- Look for geometric patterns in nature and cities
- Try different heights to change how scenes look
- Find both symmetrical and asymmetrical shots
- Use lines to lead the viewer’s eye
Composition Guidelines
To make great top-down drone shots, know the basics of visual art. Focus on depth by placing subjects wisely. Look for interesting patterns in the landscape, like roads or buildings.
Height and Angle Considerations
How high you fly matters a lot. Flying between 50-200 feet gives you many views. Lower heights show details, while higher views show more of the landscape. Tilt your drone a bit for more movement in your shots.
Subject Positioning
Place subjects off-center to add tension. Use the rule of thirds to guide your shots. This makes your drone shots more interesting and engaging.
“Aerial photography is about revealing the world’s hidden geometries and unexpected beauty.” – Professional Drone Cinematographer
Keep practicing and trying new things. This will help you get better at capturing stunning fpv drone shots that wow and inspire people.
Professional Color Grading Tips
Creating stunning visuals with drone footage color grading needs a sharp eye and precise skills. It turns simple drone clips into amazing stories that grab viewers’ attention.
When editing FPV videos, I’ve found some key tips to improve your color grading:
- Choose short, impactful clips for targeted color correction
- Understand how ISO, exposure, and color balance work together
- Try custom color profiles from 0,0,0 to -3,-3,-3
I prefer a color profile of 0,-3,0. It reduces contrast but keeps images natural. This method takes 10-20 minutes for 10-15 clips.
“Color grading is not just technical manipulation—it’s storytelling through visual language.”
For beginners, I suggest using iMovie. As you get better, move to more advanced software for better color control.
- Use Look-Up Tables (LUTs) for consistent colors
- Adjust saturation and contrast to improve drone footage mood
- Create a unique color grading style that fits your story
Professional drone footage color grading turns raw clips into cinematic masterpieces that touch viewers’ hearts.
Optimizing Camera Settings for Different Lighting Conditions
Capturing stunning drone footage requires mastering camera settings across various lighting scenarios. Whether you’re shooting during the golden hour or navigating challenging low light environments, understanding how to adjust your drone’s camera is key for professional-quality results.
When dealing with drone low light settings, I recommend increasing your ISO while maintaining a balanced approach. The DJI Mavic 3 Classic offers an impressive night mode ISO range of 800-12800 for video. This allows incredible flexibility in challenging lighting conditions.
- Golden hour tips for drone photography:
- Shoot during sunrise or sunset
- Utilize warm, soft lighting
- Adjust white balance for rich colors
For fpv sunlight exposure, strategic use of ND filters becomes essential. Professional drone pilots recommend keeping shutter speed around 1/60th of a second and adjusting aperture to compensate for bright conditions. The Mavic series provides exceptional flexibility with its advanced camera configurations.
“Understanding light is the key to transforming ordinary drone footage into cinematic masterpieces.” – Professional Drone Cinematographer
Different drones offer unique capabilities for managing lighting challenges. The Autel EVO MAX 4N’s starlight camera, with its remarkable 0.0001 LUX sensitivity, shows how technology is changing low-light drone photography.
- Key lighting adjustment strategies:
- Increase ISO gradually in low light
- Use ND filters in bright sunlight
- Experiment with white balance settings
By mastering these techniques, you’ll elevate your drone cinematography skills across diverse lighting environments.
Conclusion
Mastering DJI FPV cinematic techniques takes dedication and practice. This guide has shown the importance of drone cinematography tips. They help create stunning aerial videos that grab viewers’ attention.
Understanding your DJI FPV drone’s abilities is key. It lets you explore new ways to create. The drone’s camera, with its 4K video and frame rates, is perfect for creative projects.
Post-production is vital for turning raw footage into stunning videos. Adobe Premiere Pro and color grading can make your drone footage stand out. Remember, great results come from knowing your craft, being creative, and practicing a lot.
Your drone cinematography journey is just starting. Keep learning, try new things, and let your creativity fly with the DJI FPV drone. The sky is your canvas.
